Adding text to your listing should be self explanatory, it is a lot like Word or Write where you find the tool at the top of the editor and select the option to change color size and alignment.
Images are a bit more complex and when you get used to how it works you can do a lot of things with images.
Your main image will be added using the “Featured Image” upload box in the lower right corner of the editor page. All you need to do is click on the “Set featured image” link in the box.

Once you select your picture—via uploading new, or using current images in the Media Saved toolkit—then it will be saved, once you click “Publish” ( or “Update” ). You may always use this image again for additional posts since it will be saved to your Media Library.
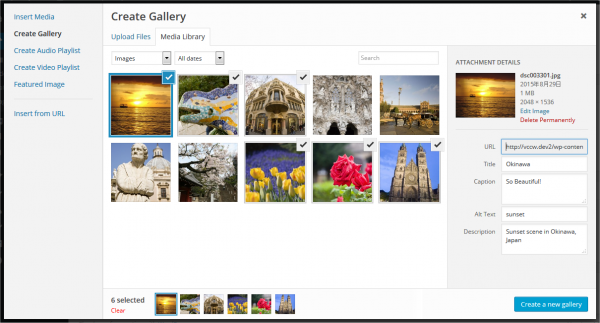
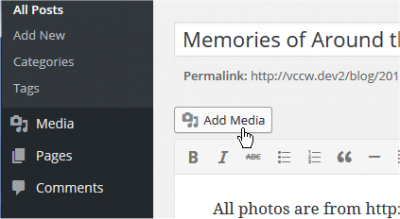
To add more images to your listing you should consider the page layout and where you want to add them. You may add them inline—sort of like this instruction page is doing—or you can add the images to the bottom of your listing in a more standardized, common gallery fashion.
Step 1.
Open “Add Media”
Step 2. Upload or select images and place as Gallery or simply place one at a time.